Door Weather Stripping Benefits
Installing door weather strippings is most effective before extreme weather conditions occur, typically during early fall or late spring.

Optimal installation periods are when temperatures are moderate, usually between 50°F and 85°F, to ensure proper adhesion and sealing.
Applying weather strippings before winter helps prevent drafts and energy loss during the cold months.
Ways to make Door Weather Strippings work in tight or awkward layouts.

Popular materials for Door Weather Strippings and why they hold up over time.
Simple add-ons that improve Door Weather Strippings without blowing the budget.
High-end options that actually feel worth it for Door Weather Strippings.

Finishes and colors that play nicely with Door Weather Strippings.
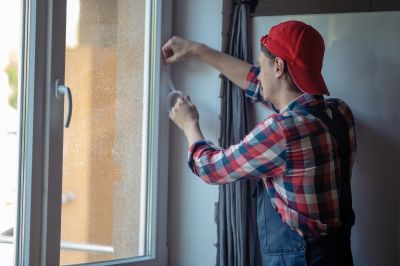
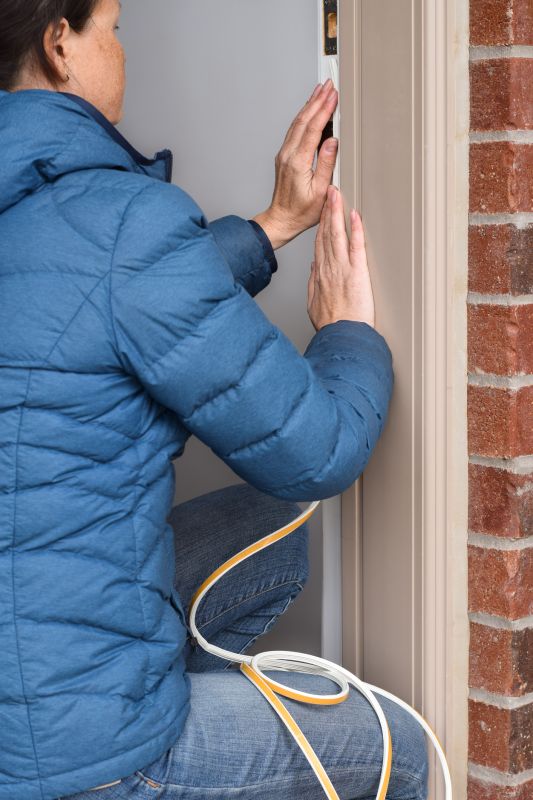
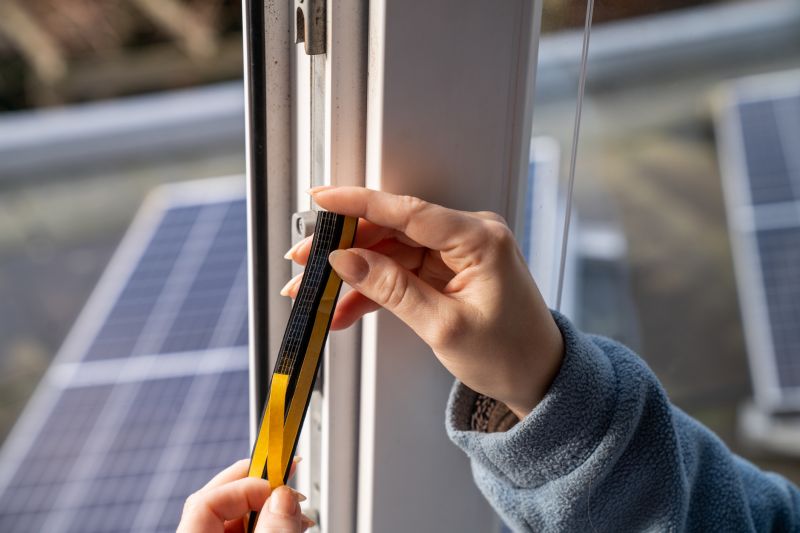
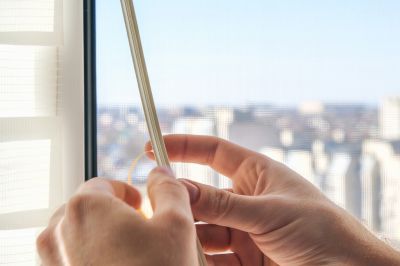
Door weather strippings serve as a crucial barrier against air leaks, helping to improve energy efficiency and indoor comfort. They are typically made from materials like rubber, foam, or vinyl, which seal gaps around door frames effectively. Properly installed weather strippings can reduce energy costs by preventing heat loss in winter and keeping cool air inside during summer. According to industry statistics, well-maintained door seals can improve energy efficiency by up to 15%. The best time to install or replace weather strippings is during periods of moderate weather, avoiding extreme cold or heat that can affect adhesion and sealing performance.
Timely installation of door weather strippings can extend the lifespan of the door assembly and maintain energy savings. Regular inspections and replacements ensure that the seal remains effective, especially after seasons of heavy use or weather exposure. Weather conditions, such as high humidity or freezing temperatures, can impact the installation process and the durability of the materials used. Therefore, planning installation during suitable weather windows maximizes the effectiveness and longevity of the weather stripping.
Installing weather strippings at the right time ensures optimal adhesion and sealing, maximizing energy savings.
Cracks, gaps, or noticeable drafts indicate the need to replace or upgrade door weather strippings.
Different materials suit different climates; rubber and vinyl are common for durability and flexibility.
Ensure the door surface is clean and dry before installation for best results.

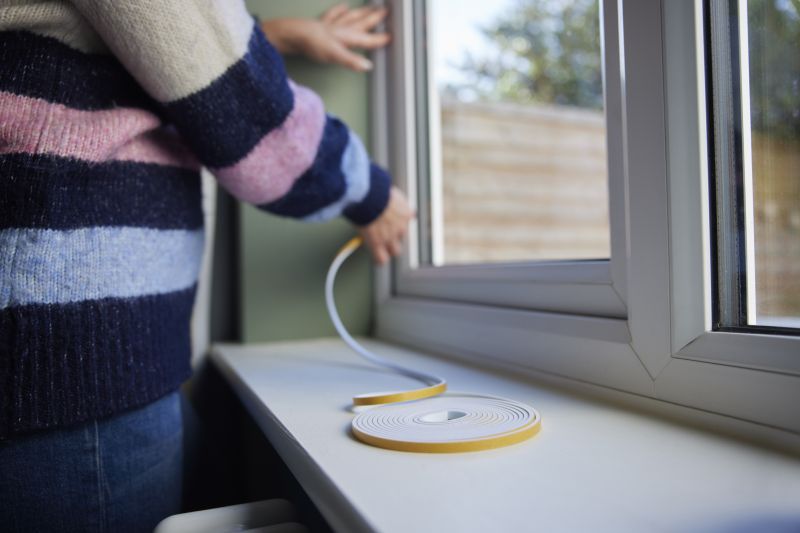
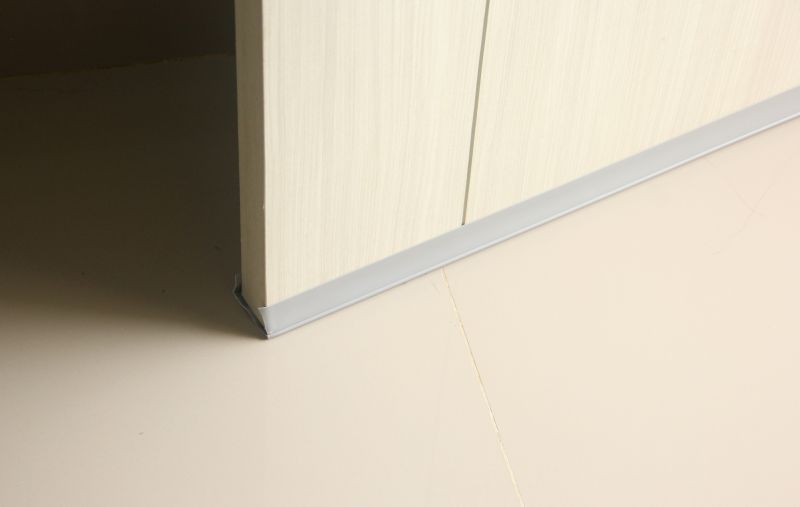
Sealing gaps around a door with weather stripping.

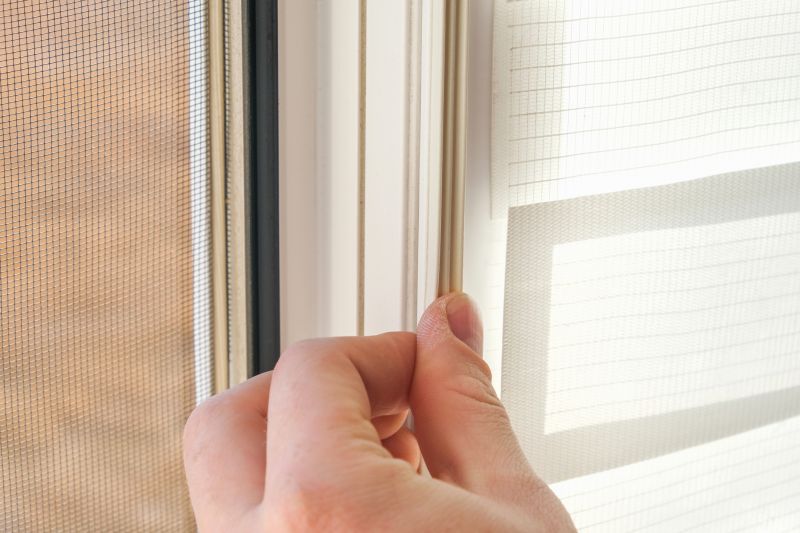
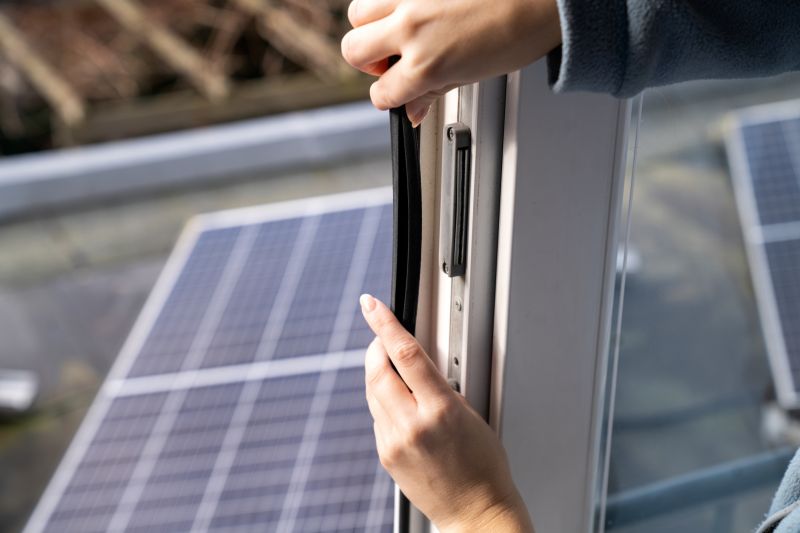
Applying weather stripping along door frames.

Varieties of weather stripping materials.
Tools used for applying door weather strippings.

Comparison showing the effectiveness of weather stripping.

Weather stripping withstanding different seasonal conditions.
Graph illustrating reduction in energy costs after installation.
Inspecting weather stripping for wear and tear.

Close-up of various types.
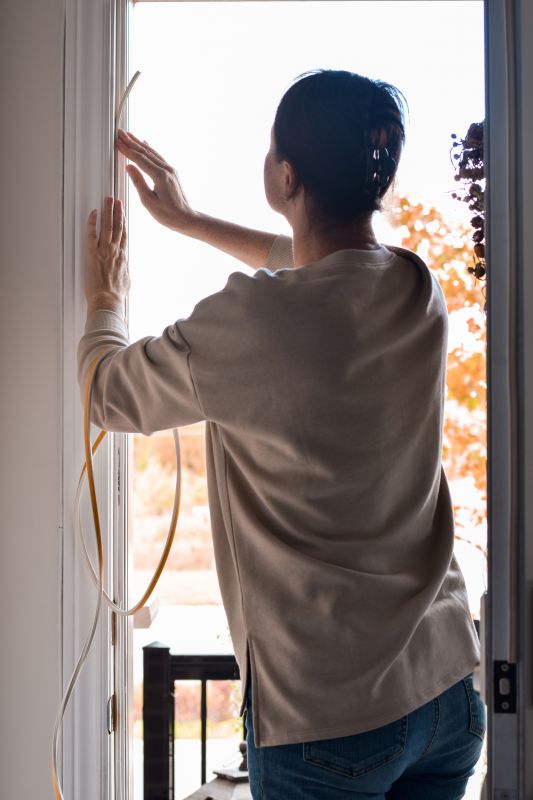
Applying weather stripping to seal gaps.

Testing weather stripping resilience.
Ideal timing for replacing weather stripping.
| Seasonal Timing | Optimal Conditions |
|---|---|
| Early Fall | Moderate temperatures, dry weather |
| Late Spring | Mild weather, no frost |
| Pre-Winter | Before cold weather sets in |
| Post-Winter | After cold months for inspection |
| Late Summer | Before humidity and heat peak |
Interested in upgrading or installing door weather strippings? Filling out the contact form provides an opportunity to explore options suited to specific needs and local climate conditions. Proper timing and installation can enhance energy efficiency and comfort, making it a worthwhile investment for property maintenance.